Dial In Lattes: Deluxe Semi-Auto Espresso + Steam Wand
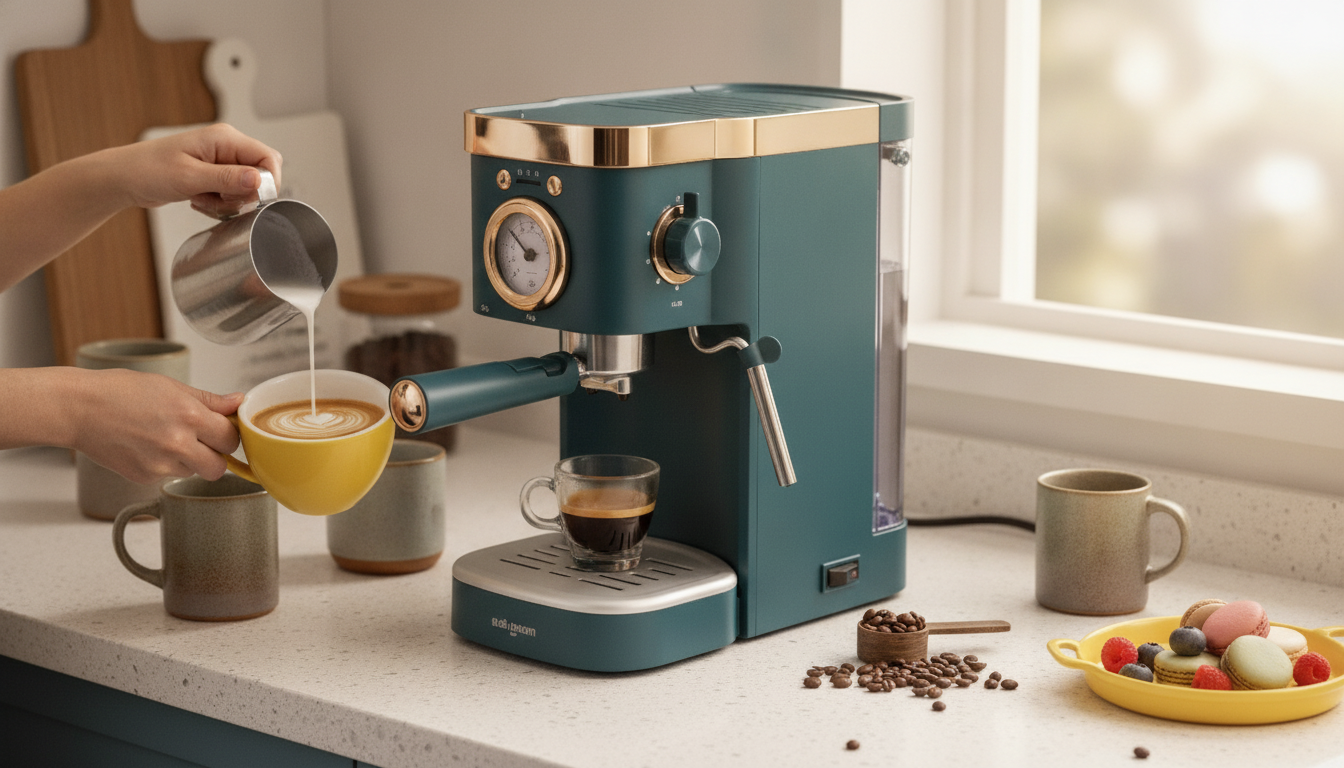
Deluxe Semi-Automatic Espresso Coffee Maker with Steam Milk Frother
A semi-automatic espresso machine with a steam milk frother lands in the sweet spot between push-button simplicity and hands-on control. The result is a routine that feels doable on busy mornings while still letting you refine flavor, strength, and milk texture over time. If you’re considering a step up from pods or drip coffee, a deluxe semi-automatic setup is often the most practical way to start making café-style lattes and cappuccinos at home.
Why a semi-automatic setup changes the coffee routine
Compared with capsule systems, semi-automatic espresso makes the “inputs” visible—and adjustable. Instead of accepting a fixed pod recipe, you control the grind, the dose, and the time water spends extracting flavor from the coffee. Those variables sound technical, but they’re also what make your daily cup feel custom.
A semi-automatic workflow stays approachable because the machine still handles the hard part: delivering hot water at pressure and producing steam for milk. With a built-in steam wand, you can texture milk for a silky latte, build a thicker cap for cappuccinos, or keep it minimal for a flat white—without adding a separate frother to your counter.
What “deluxe” should mean in real-life use
“Deluxe” matters most when it shows up as repeatability. Peak power is less important than stable brewing and steaming that behave the same way day after day. Look for controls that are easy to learn (clear function selection and predictable steam response) and comfort features that reduce friction—like straightforward cleaning access, drip management that keeps counters tidy, and a portafilter handle that’s easy to grip.
Feature checklist for everyday espresso and milk drinks
| Feature area | Why it matters | What to verify during setup/use |
|---|---|---|
| Brew control | Helps dial in flavor and strength | Ability to stop/start brewing cleanly and repeat timing |
| Steam frother | Creates foam texture for different drinks | Steam starts reliably; wand can be purged and wiped quickly |
| Water handling | Impacts taste and maintenance | Fresh water changes are easy; scale management is doable |
| Cleaning access | Keeps flavors clean and parts sanitary | Removable pieces are easy to rinse; surfaces wipe down fast |
| Counter footprint | Determines daily convenience | Space for cups, milk pitcher, and tamping area nearby |
For espresso fundamentals and broader brewing guidance, the Specialty Coffee Association (SCA) and the National Coffee Association (NCA) are reliable references worth bookmarking.
A practical espresso workflow that improves results fast
Great espresso is less about perfection and more about consistency. Start by grinding fresh and keeping grind size stable; tiny changes can turn a fast, sour shot into a balanced one. If your grinder has steps, change one step at a time. If it’s stepless, make very small adjustments and keep notes for a week.
Next, make the dose repeatable. Use the same amount of coffee each time and distribute it evenly in the basket. A level coffee bed helps prevent channeling—when water finds weak spots and rushes through, leaving the shot watery and under-extracted. Tamp firmly and evenly, then wipe the basket rim before locking in so the seal stays clean.
Finally, time your shots. Track the seconds from the start of the brew to the end, and focus on taste. If it’s sour and thin, you usually need a finer grind or a slightly longer shot. If it’s bitter and harsh, go a touch coarser or shorten the shot. Warming your cup and quickly rinsing the brew path can also reduce temperature swings that flatten flavor.
Using the steam milk frother for latte, cappuccino, and more
Milk steaming is a quick skill to learn when you repeat the same steps. Start by purging the steam wand briefly to clear condensation—this keeps early steam from adding unwanted water to your milk. Submerge the tip just below the surface and listen: a gentle “paper tearing” sound for only a moment introduces air; then you shift to texturing.
Quick drink guide: foam style and pouring goals
| Drink | Foam goal | Pouring cue |
|---|---|---|
| Espresso | No milk foam | Crema should look even; taste should be balanced |
| Latte | Fine microfoam, glossy | Milk integrates smoothly with minimal visible bubbles |
| Cappuccino | Thicker foam cap | More volume on top while still creamy (not dry) |
| Flat white | Very fine microfoam, thinner layer | Silky texture with a low foam profile |
Taste tuning: common problems and quick fixes
Cleaning and care that keeps flavor fresh
Recommended in-stock picks
- Deluxe Semi-Automatic Espresso Coffee Maker with Steam Milk Frother — a hands-on setup for espresso shots and milk drinks in one footprint.
- Multi-Function Electric Waffle & Hot Pot Cooker with Steamer — an easy way to round out brunch nights with waffles, hot pot, and simple steaming.
Who this espresso maker fits best
FAQ
What’s the difference between semi-automatic and fully automatic espresso machines?
Semi-automatic machines leave key choices—like grind size, dose, and when to stop the shot—in your hands, while the machine manages pressure and heat. Fully automatic machines handle more of the process for you, trading some control and customization for convenience.
How can milk be frothed without making big bubbles?
Purge the steam wand first, introduce air only briefly with the tip near the surface, then submerge slightly to create a swirling “whirlpool” for fine texture. Tap and swirl the pitcher at the end to break down remaining bubbles and keep the wand clean so steam flow stays consistent.
How often should an espresso machine be descaled?
It depends on water hardness and how frequently you brew, so follow the manufacturer’s guidance and adjust sooner if you notice slower flow or inconsistent heating. Using filtered water typically reduces scale and can extend the time between descaling cycles.














Leave a comment