220V Smart Air Fryer Oven Guide: App Control & Crisping
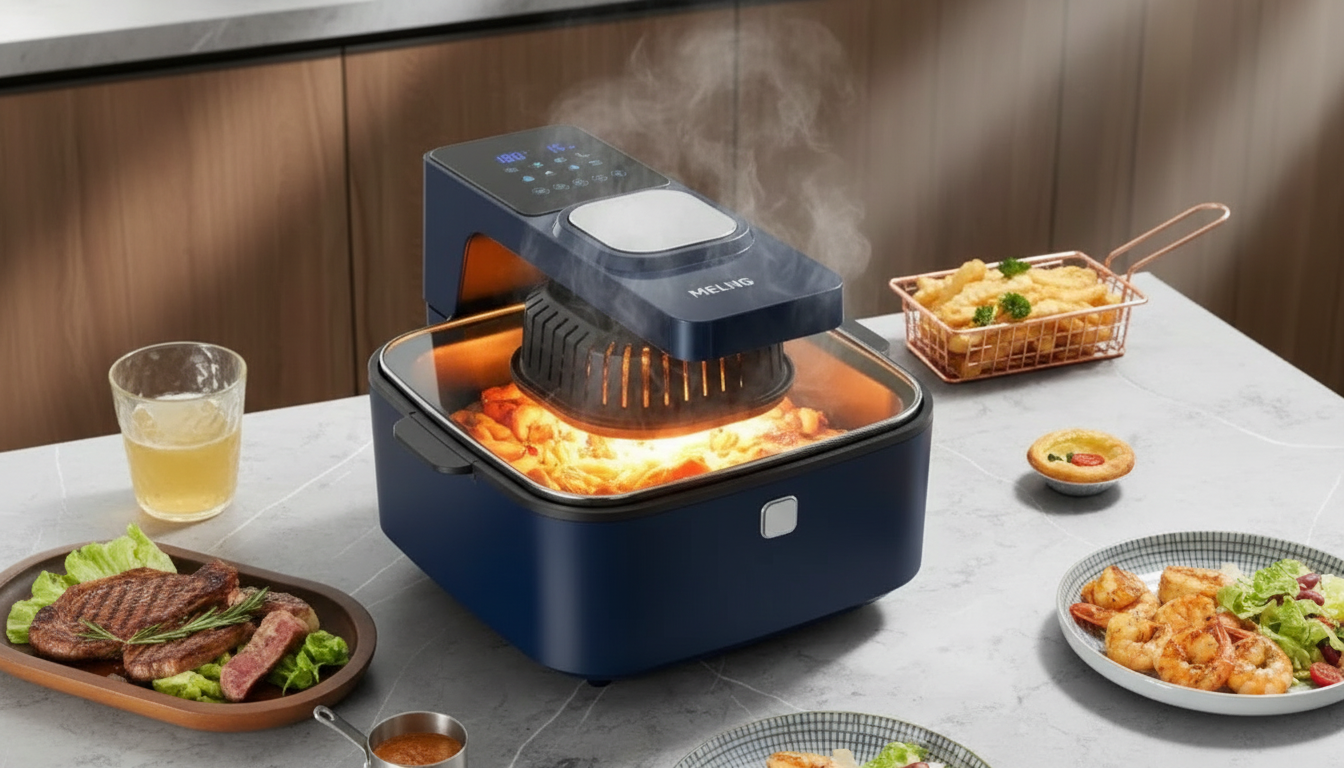
220V Smart Air Fryer Oven: Crisp Results with App-Control Convenience
A smart air fryer oven blends fast convection-style heat with programmable presets and connected controls, helping weeknight meals come together with less oil and less guesswork. If your kitchen uses 220–240V power, choosing the right 220V model is essential—not only for performance, but for safe, reliable operation. Below is a practical guide to features that matter, everyday cooking tips for better browning, and setup considerations so your countertop routine stays simple.
What a Smart Air Fryer Oven Does (and Why 220V Matters)
Air frying uses rapid hot-air circulation to brown and crisp foods with minimal added oil. Compared with basket-style air fryers, an oven-style cavity typically gives you more flexibility: multiple rack levels, tray-based cooking, and better support for reheating slices, baking small batches, or crisping several items at once.
“Smart” features usually add convenience rather than changing the core cooking method. Expect app-based controls, timers, cooking notifications, and guided presets that reduce trial-and-error—especially helpful when juggling sides and mains.
Voltage is the non-negotiable part. A 220V appliance is built for 220–240V mains power. Using the wrong voltage can lead to poor heating, shutdowns, or damage that creates a safety risk. For general appliance safety expectations and standards, it helps to look for products aligned with recognized guidance such as the International Electrotechnical Commission (IEC) household appliance safety standards overview.
Key Features to Prioritize in a 220V Smart Air Fryer Oven
Capacity vs. footprint
Oven-style air fryers can be taller than expected and often need airflow clearance. Measure your counter space and the “open door” footprint, and make sure nearby cabinets won’t trap exhaust heat.
Temperature range and heat stability
Presets plus manual control
Airflow and rack design
Cleaning and daily usability
| Need | Feature to look for | Why it helps |
|---|---|---|
| Fast weeknight cooking | Strong convection + reliable presets | Reduces trial-and-error and speeds up cook time |
| Crispier texture | Higher max temperature + good airflow | Improves browning and crunch without deep frying |
| Hands-off cooking | App control + alerts | Notifications help prevent overcooking |
| Family portions | Larger cavity + multiple rack levels | Cook more food at once |
| Easy cleanup | Removable drip tray + nonstick-friendly accessories | Less scrubbing and fewer stuck-on drips |
| Shared kitchens | Quiet operation + auto shut-off | More comfortable and safer day-to-day use |
Getting Better Results: Practical Cooking Tips
Preheat when it actually helps
Don’t overcrowd—optimize airflow
Shake, flip, or rotate at the halfway point
Use a light oil mist for better browning
Cook to temperature when safety matters
Color can be misleading—especially with thicker cuts. For poultry and larger roasts, use a thermometer and follow safe minimum internal temperatures from the USDA Food Safety and Inspection Service.
| Food | Typical setting | Notes |
|---|---|---|
| Frozen fries | High heat, 12–18 min | Shake or toss halfway for even crisping |
| Chicken wings | High heat, 18–25 min | Flip once; finish a few minutes longer for extra crisp |
| Salmon fillet | Medium-high, 8–12 min | Brush lightly with oil; avoid overcooking |
| Roasted vegetables | Medium-high, 10–18 min | Cut evenly; add firmer vegetables first |
| Reheating pizza | Medium-high, 3–6 min | Use a tray/rack to keep the crust crisp |
Voltage, Placement, and Everyday Safety
Start with the basics: confirm your outlet voltage and use the appliance only on the 220–240V supply specified by the manufacturer. Avoid plug adapters that simply change the plug shape—those do not convert voltage. If you ever need to evaluate product issues or safety notices, the U.S. Consumer Product Safety Commission recalls database is a useful reference point for understanding how recalls are communicated.
Product Spotlight: 220V Smart Air Fryer Oven
If you’re shopping specifically for a 220V kitchen, the 220V Smart Air Fryer Oven is designed to match 220–240V power setups and deliver the convenience people expect from a connected countertop cooker. The oven form factor suits multi-item meals, quick reheats, and crisping without heating a full-size oven.
| Item | Details |
|---|---|
| Product | 220V Smart Air Fryer Oven |
| Price | 412.51 USD |
| Availability | In stock |
| Product page | View product |
Pairing Ideas for a More Convenient Kitchen Setup
A smart air fryer oven shines when the rest of your routine is equally streamlined. For floor cleanup after prep and cooking, the Smart Home Robot Vacuum Cleaner with Mop & Automatic Dust Collection can help keep crumbs and splatters from piling up while you handle dishes.
To expand quick-meal options beyond crisping and roasting, the Multi-Function Electric Waffle & Hot Pot Cooker with Steamer pairs well for breakfasts, snacks, and simple one-pot add-ons that round out an air-fried main.
If you’re working with a compact kitchen-dining layout, the How to Pick Dining Chairs Checklist can help you plan seating that fits your space and keeps traffic flow comfortable when the countertop appliances are in use.
FAQ
Can a 220V air fryer oven be used in a 110V outlet?
No—voltage must match the manufacturer’s requirement. A simple plug adapter won’t convert voltage, and using the wrong voltage can cause malfunction, poor heating, or safety hazards; use the correct regional model or a properly rated voltage converter only if the appliance explicitly supports it.
Do smart air fryer ovens need Wi‑Fi to cook?
Usually not. Core cooking functions should work from the onboard controls, while Wi‑Fi typically adds remote start/stop (where supported), notifications, and recipe or preset syncing.
Why isn’t food getting crispy in an air fryer oven?
The most common causes are overcrowding, excess moisture, skipping preheat when needed, using too low a temperature, or not using a light surface oil. Try this order: spread food out, raise heat slightly, rotate/flip halfway, and lightly mist oil for better browning.













Leave a comment